|
This page will act as a photographic journal. What I'm using, why I like various bits of kit, how I set up certain shots. Stuff that on the whole would act as a massive turn-off for anyone not interested in wildlife photography. Hungary Day 4: The Bee-eater Hide
July 29, 2013
•
Leave a Comment
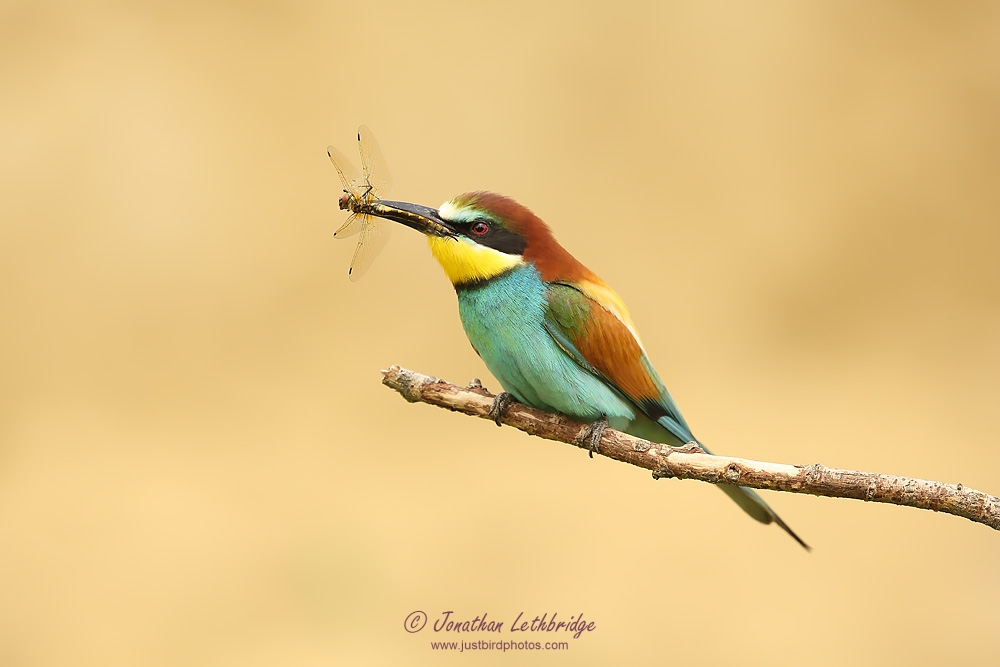
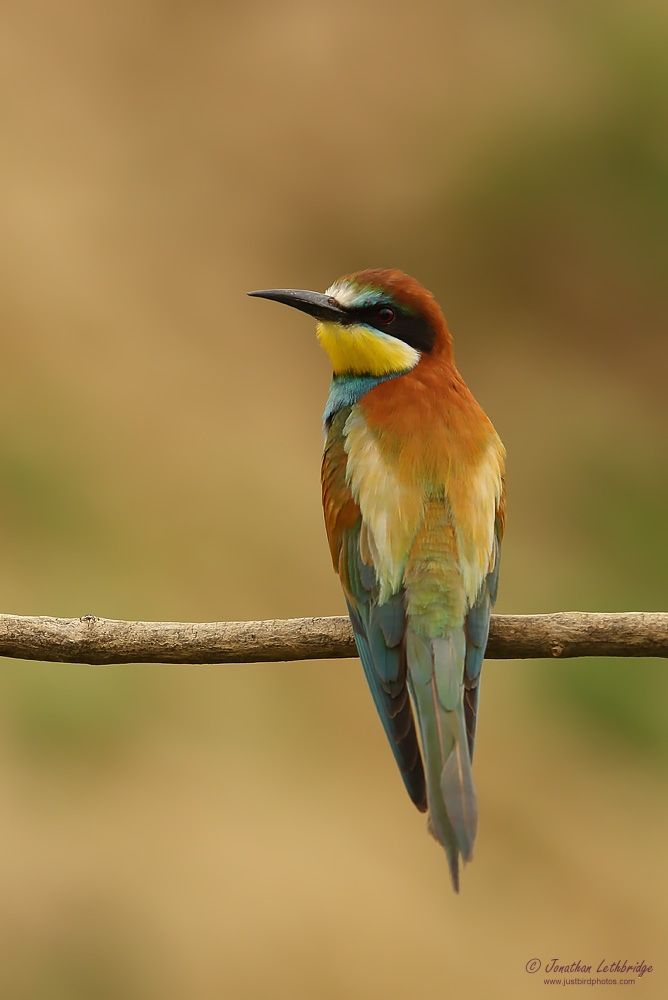
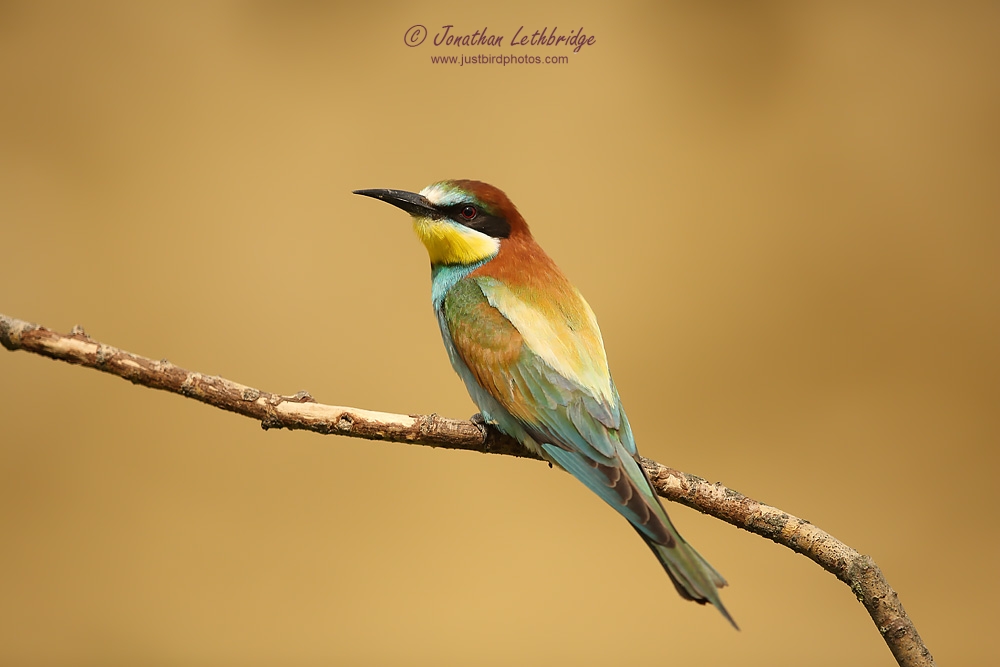
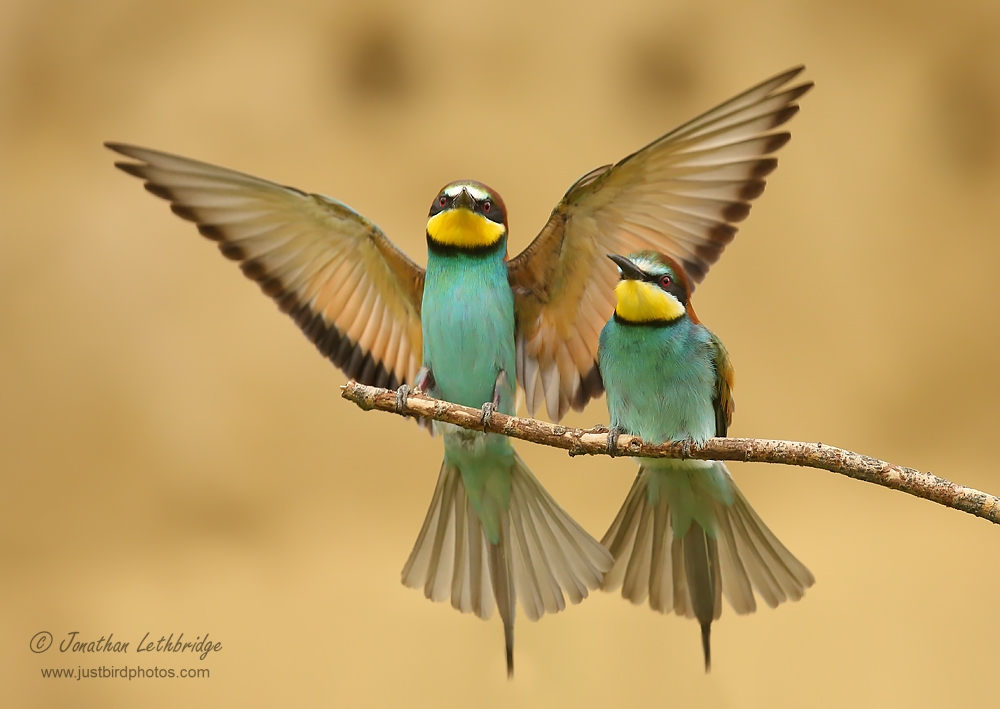
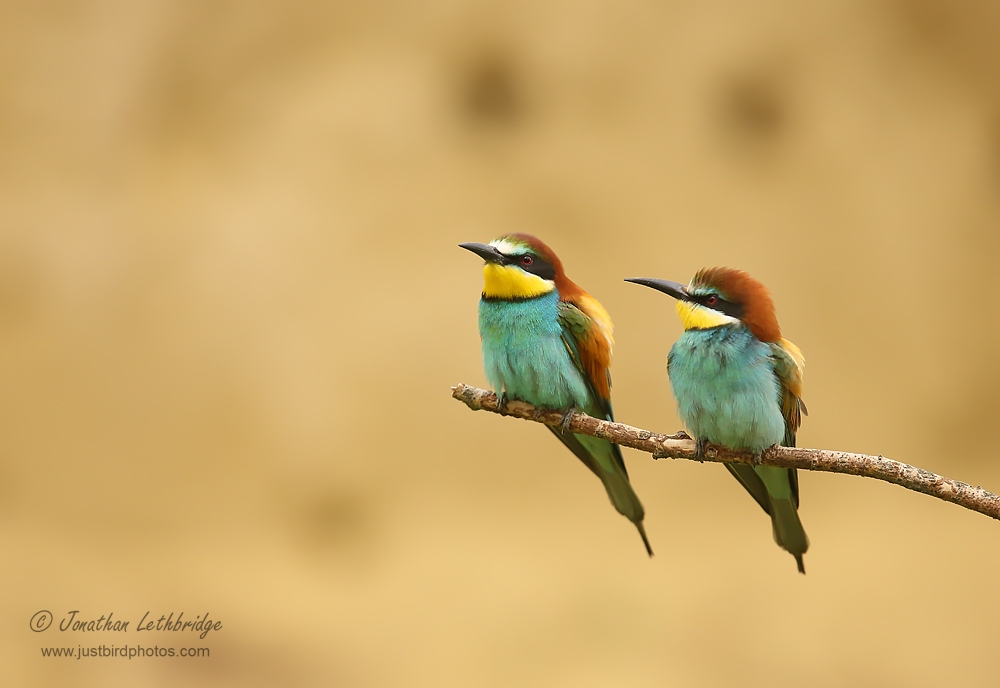
As I mentioned earlier, we had previously forsaken the Bee-eater hide in favour of the Pygmy Cormorant Hide because of the weather - we cannot know whether the Bee-eater Hide would have been any better than where we ended up, but I doubt it could have been any worse! Anyhow, with some sunshine and a decidedly dodgy forecast to come, we decided today was the day for the Bee-eaters, and this proved to be an excellent choice. Conditions were difficult, with sunshine followed by cloud followed by sunshine, exposures problematic for a manual convert like me, but the overall situation was wonderful. You're sat in a wooden shed that has been positioned in front of a sandbank that has many Bee-eater nest holes as well as lots of Sand Martins. Between you and the sandbank are a few perches, and these are where the Bee-eaters land with food before delivering to the nest holes, and where they often perch.
Beautiful birds that I have wanted to photograph for simply ages, this hide ticked all the boxes. After tiring of the standard perched shots, the challenge was to get some wings open action, but anticipating where the birds would land was a complete lottery. The bird that had come back to the same perch four times would land somewhere different the fifth time, or on the same perch but at the other end! And with lenses that were just a shade too long (300mm native - 200mm would have been better for easier framing) I was forever cutting off the wingtips or tail, consigning otherwise great images to the dustbin!
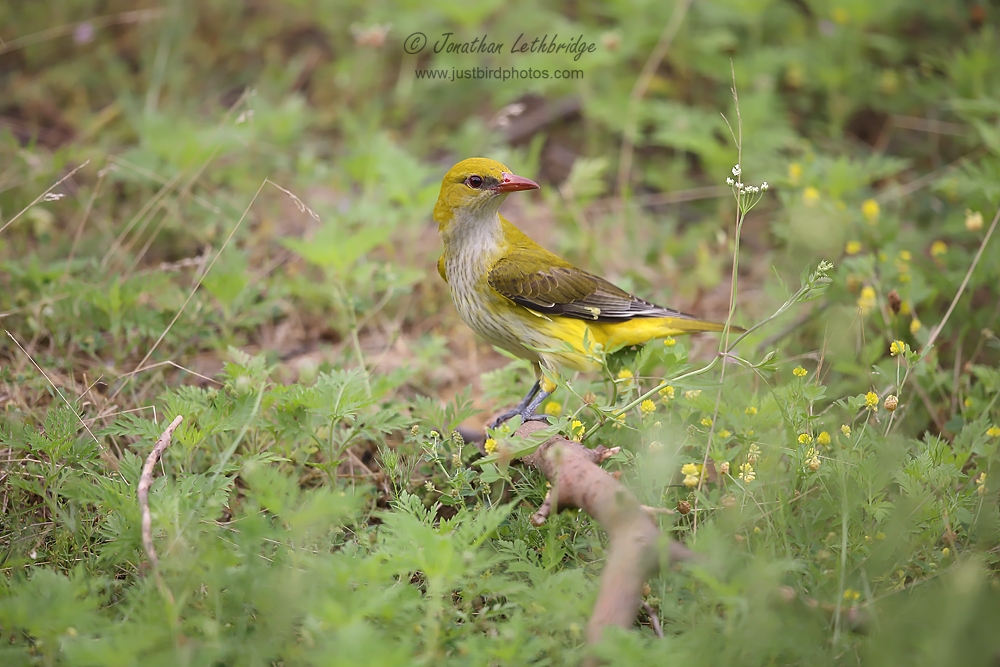
The maximum number of birds on the perches at any one point was probably five, but I think that at least four nest holes were occupied. Periods of inactivity were interspersed with frenetic coming and going, rattling off shot after shot - Bee-eater is one of these species that cannot fail to look nice. There wasn't a great deal of supporting cast - the Sand Martins were too far away, but a Golden Oriole did drop in momentarily in some grass to the left of the hide. Positioned on the right hand side of the hide I had to shoot at a terrible angle through the glass, but it just about worked. So all in all a great morning, and although the weather was mixed, this probably meant we ended up having decent shooting conditions for an additional two hours. A blue sky day would have seen us pack it in at 10am due to haze and harsh light. So at midday we reluctantly packed up and went back to the hotel before the afternoon session back at the Red-footed Falcon Hide. This was actually the only day we got a break - I had understood prior to going that all days involved a morning and afternoon session, with the middle of the day devoted to sleeping and resting in the cool. In the event either Sakertours were short of drivers or were feeling a little laid back, and every other day we were either left in the hide for the duration, or moved straight from one to the other in the heat of the day. If I go back I'm going to insist on the rest part!
Gear Lenses: The ideal lens for this hide would have been a 200-400mm zoom. I use Canon, and they have just come out with such a lens. Unfortunately it costs something like £12,000 at the present time, and so far this hide is the only situation where I have thought "oooh, I could really do with one of those". As it was, the trusty combo of 300mm f2.8 and the 500mm f4 sorted me out. Really if you have these two lenses, there is very little else you need to photograph birds. Cameras: Any, I chopped and changed between full-frame and 1.3x crop the whole time. Open wing shots needed the 300mm at full-frame. Other: A tripod with or without a centre column. Hungary Day 3: Afternoon Roller Hide
July 23, 2013
•
Leave a Comment
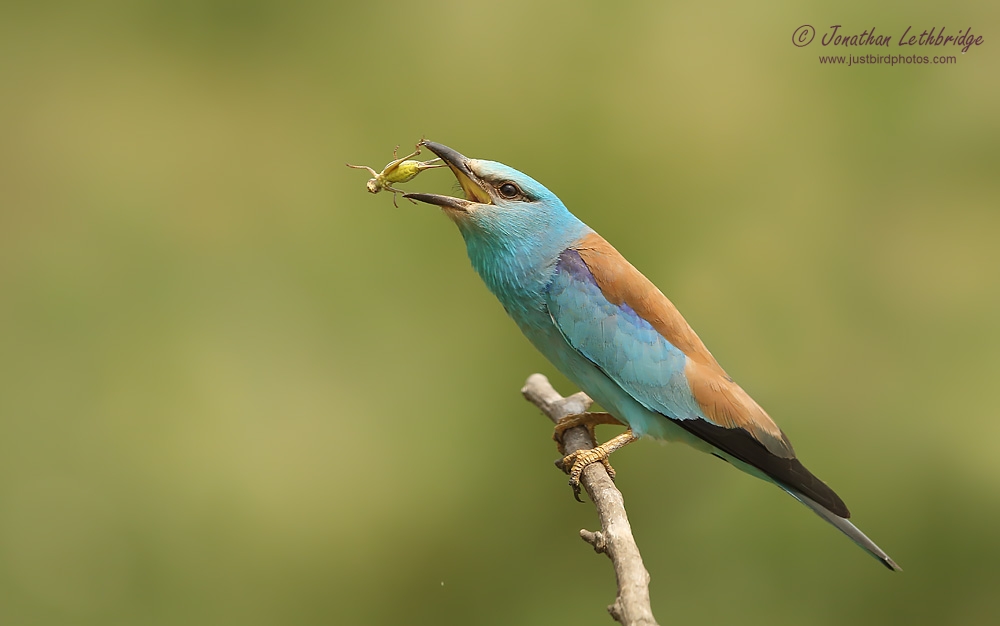
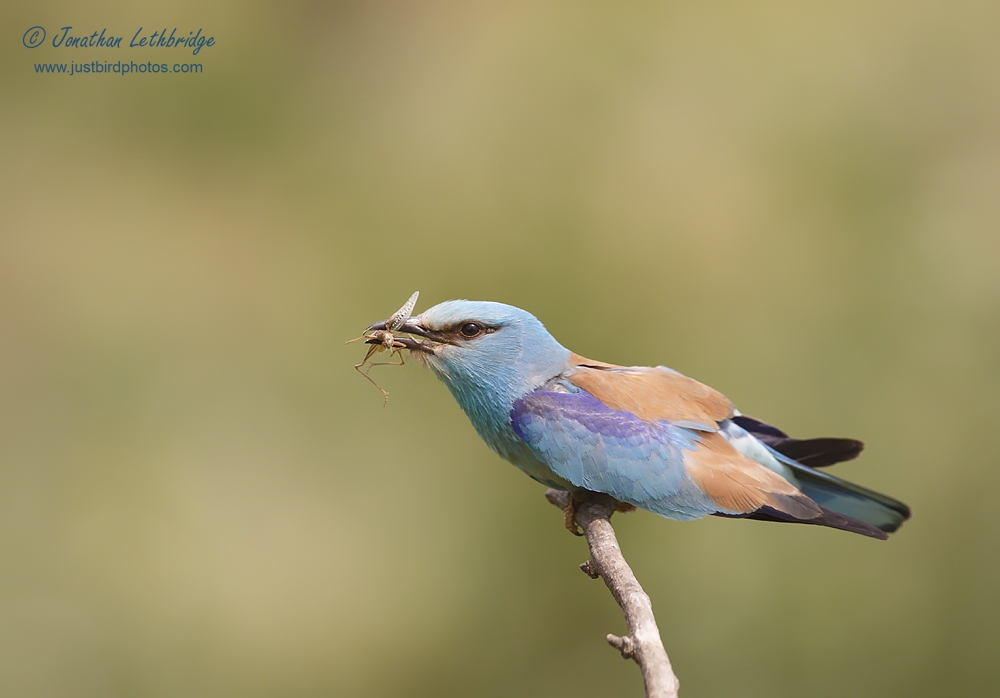
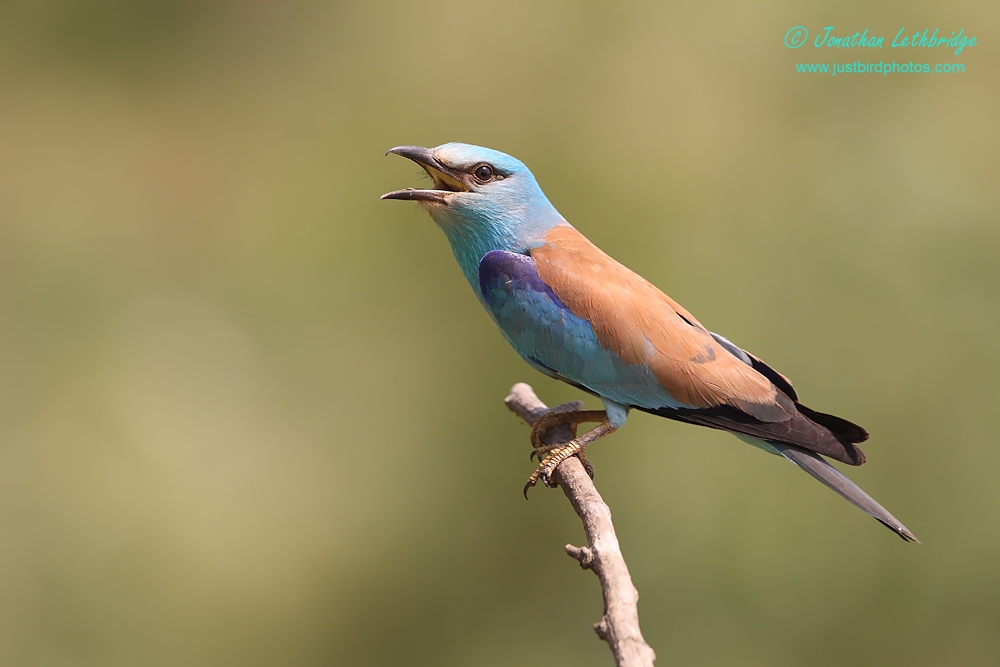
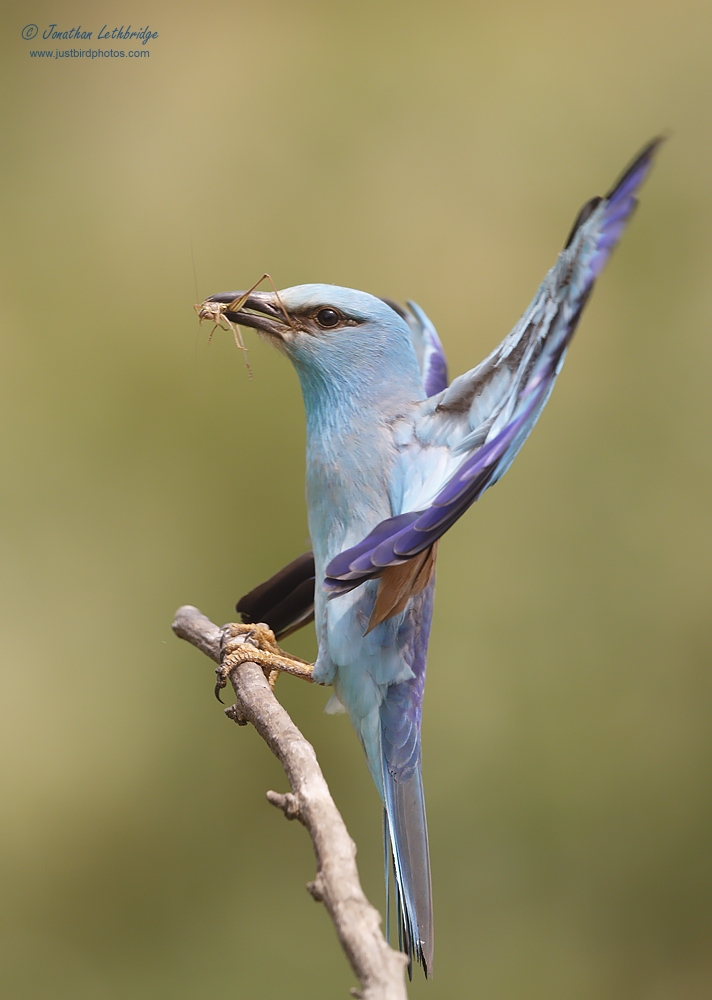
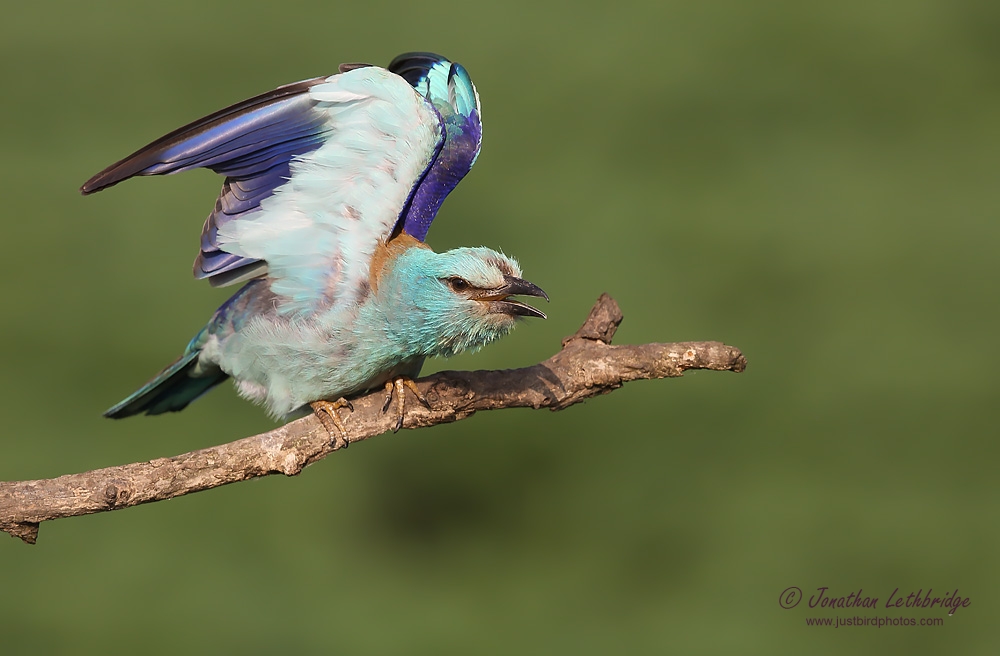
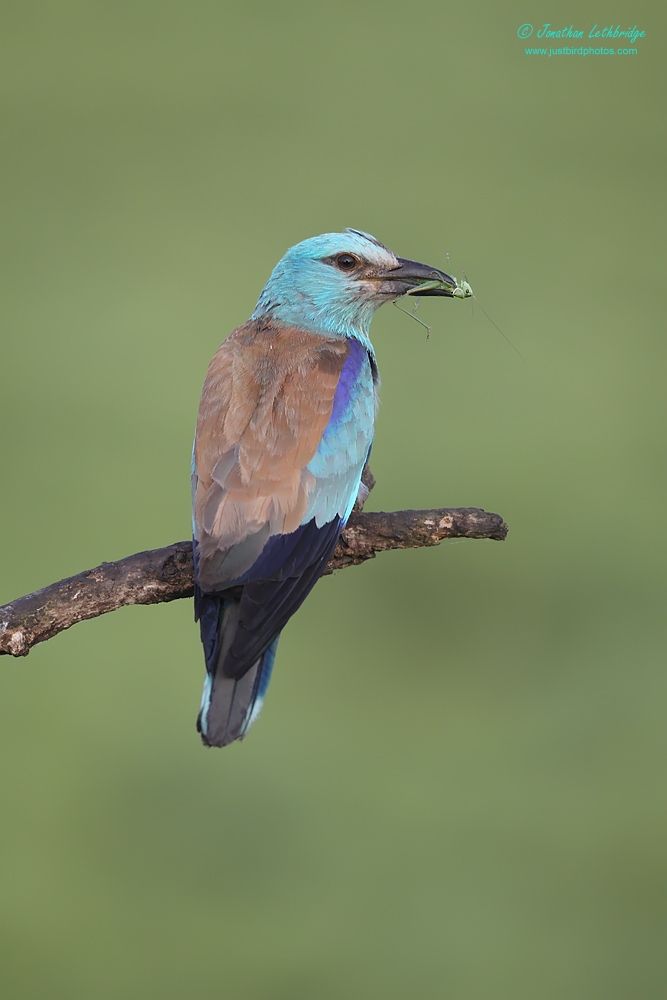
Around lunchtime on day 3 we moved to the Afternoon Roller Hide, as distinguished from the Morning Roller Hide which presumably faces in a different direction. It's only about a five minute drive from the Red-foot Tower, so ideal for doing two in a day and wasting no time driving, although frankly I would have appreciated a bit of time back at the hotel in order to cool down and lie down! The big downside to this hide is its size. Whereas the tower hide we had come from was large and comfortable, this was small and highly uncomfortable, with the seats being too low and there being nowhere to put your legs. Many periods of pins and needles, combined with stifling heat made this very hard work indeed, and eventually we gave up. I think the bird had twigged that we were in there after all our noise trying to remain comfortable (impossible!), and thus after the first hour it only came in direct to the nest box rather than landing on the perch. In addition the options are very limited - one bird, one perch, and no supporting cast. Apparently the Morning Roller Hide had a lot more activity, and a few more species present. Nonetheless I managed some pleasing photos during that first period, though I have to say that I can't really enthuse much about this hide - my best Roller photos were probably taken here, but there were far more options for different Roller poses at the Red-foot Tower Hide earlier in the day.
Gear Lenses: The longest you have, a 500mm lens is ideal for portraits with a 1.3x crop body, as well as for the bird in flight. A 400mm should be fine with a 1.6x body. Cameras: See above. Other: A tripod is essential. Hungary Day 3: Red-footed Falcon Tower
July 13, 2013
•
Leave a Comment
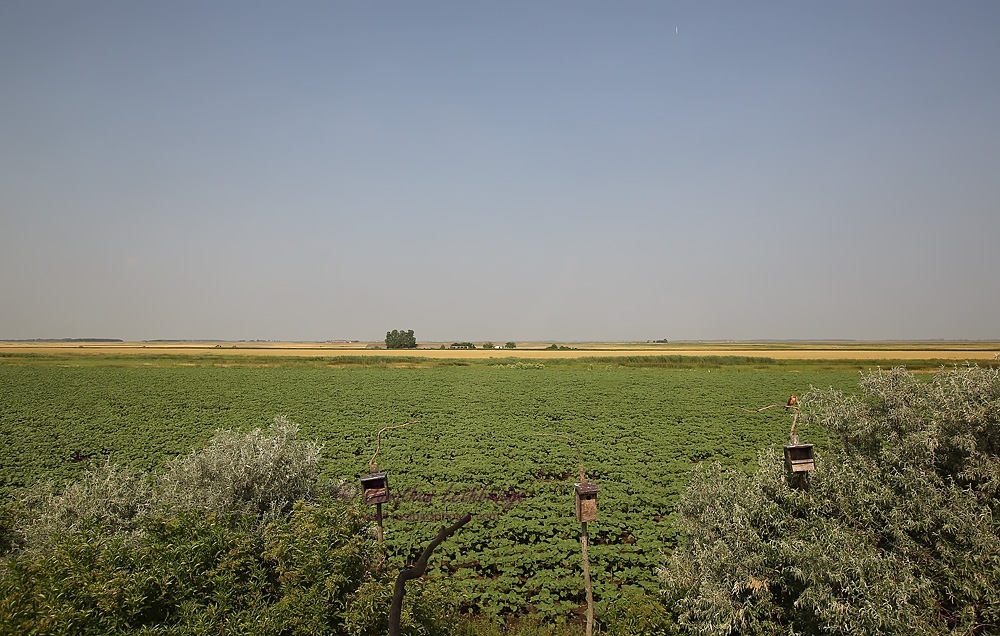
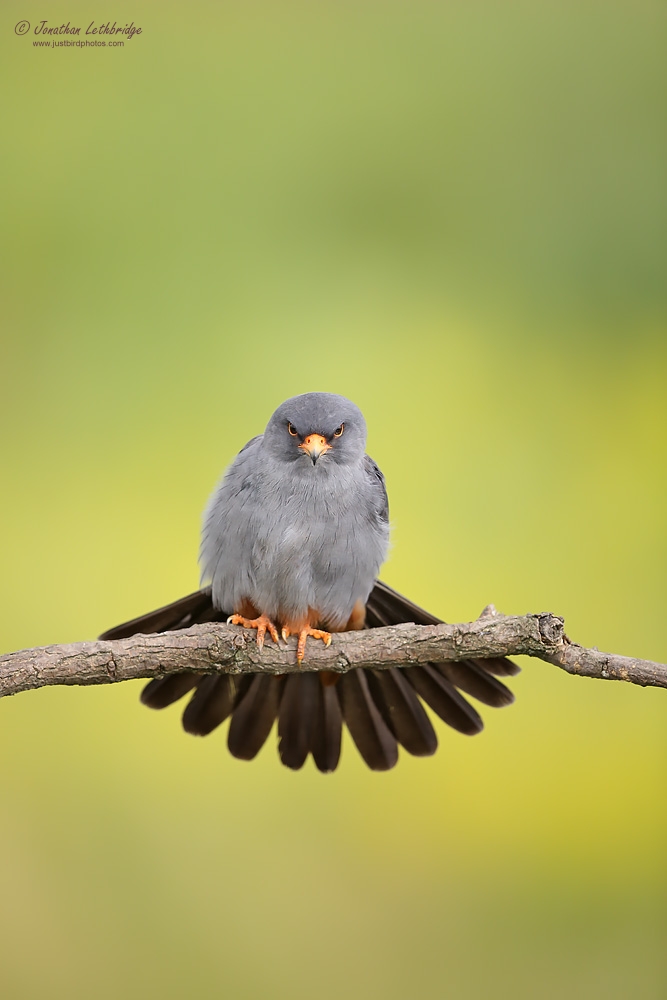
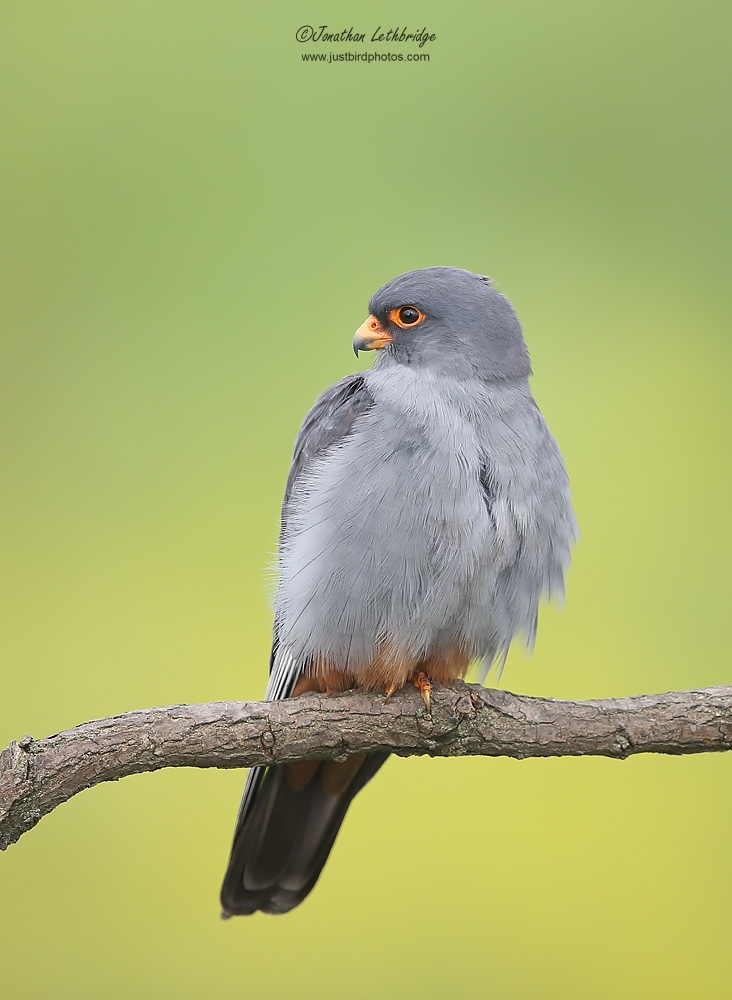
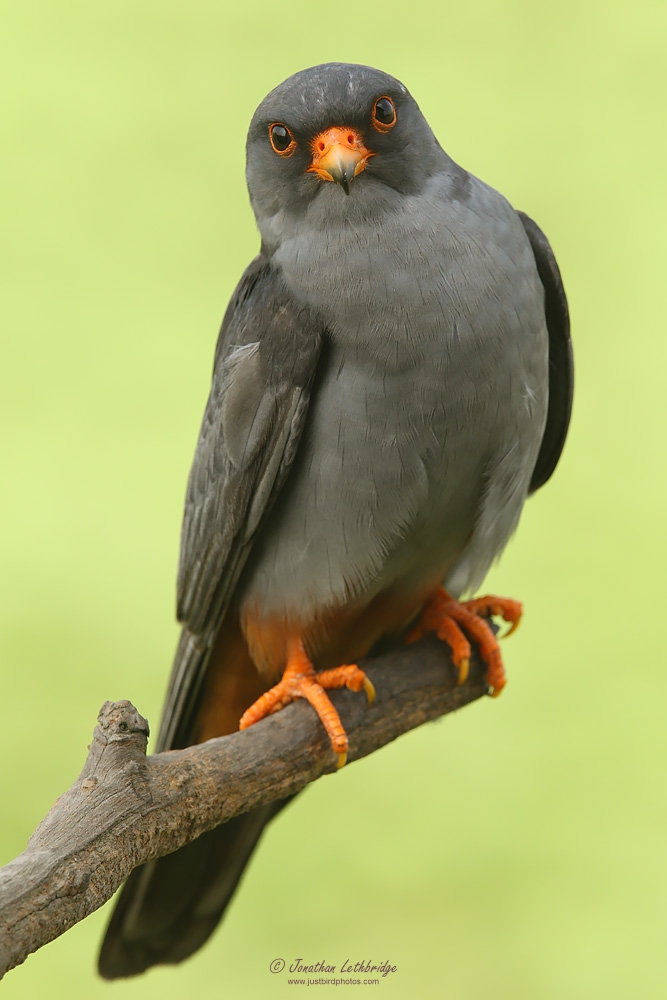
After the disappointment of the Pygmy Cormorant Hide, I and fellow photographers Jurgen and Jan were very much looking forward to today. The morning was to be spent in the Tower Hide, and the afternoon with Rollers in a nearby hide. An early start saw us trundling in the 4x4 over the grassy plain and through a series of large farms. Eventually we saw the hide in the distance, an impressive structure on stilts with the ubiquitous reflective windows. Entering via a steep ladder and trapdoor, the hide was large and comfortable, the only slight worry being large receptacles should the call of nature be unavoidable.....
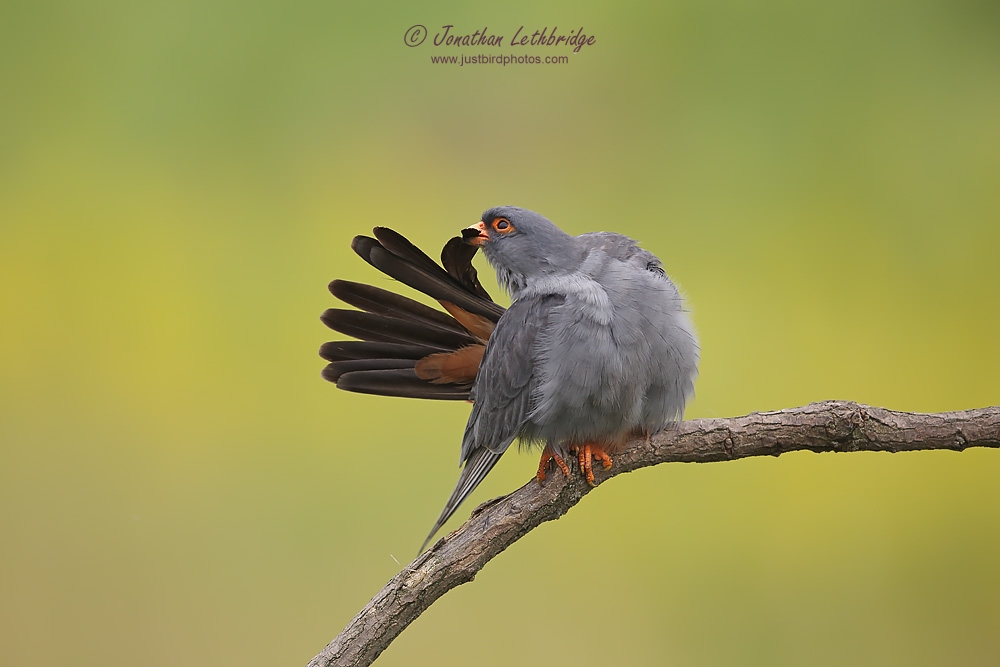
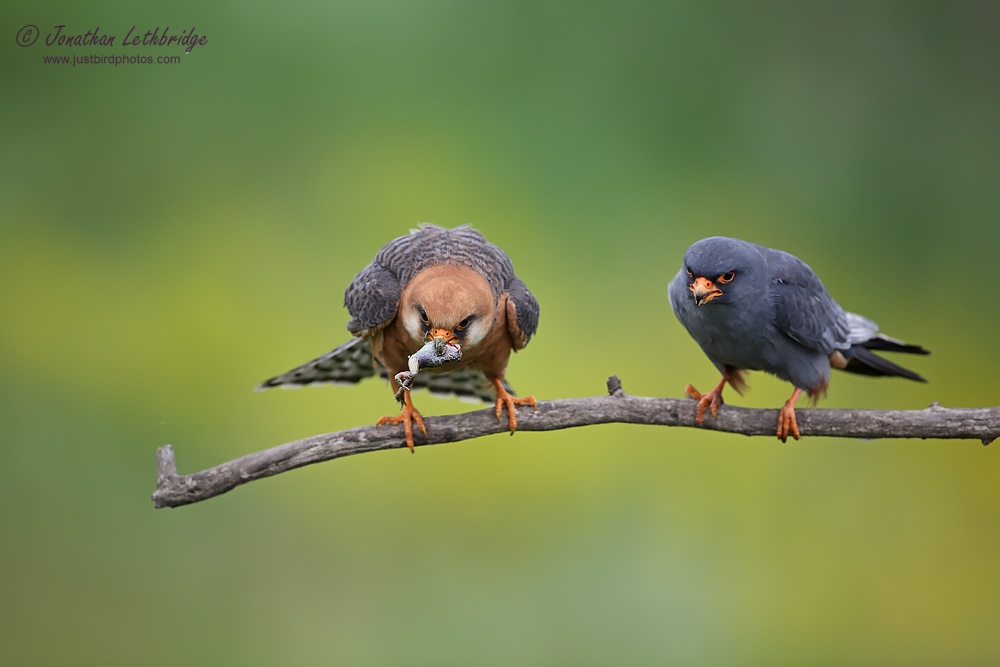
It was brilliant. The hide has full length windows on the east and west sides, so is suitable for both mornings and afternoons. You can only one side at a time, and you cover the other side with either curtains or shutters. Each side of the hide there are a couple of Red-footed Falcon nest boxes, as well as a Roller nest box. The Falcons nest colonially, so there are more nest boxes on the sides of the tower. With so many birds the activity is more or less constant, so a wildly different experience to the previous day (Thank God!). I've already posted quite a few images up, so won't do too many here, but it was superb in every respect. The hide is as good for Rollers as it is for the Falcons.
Gear Lenses: A 500mm lens is ideal for portraits with a 1.3x crop body. A 400mm should be fine with a 1.6x body. A 300mm with any body should ensure you are far enough out to get two birds in the frame, or wing stretches. A 70-200 can also be used for the times when birds perch on the side of the hide. Cameras: Any will work. Other: A tripod is essential, but need not go to ground level as the windows are set about a metre off the floor. Bladder control would be an advantage.....
Hungary Day 2: The Pygmy Cormorant Hide
July 02, 2013
•
Leave a Comment
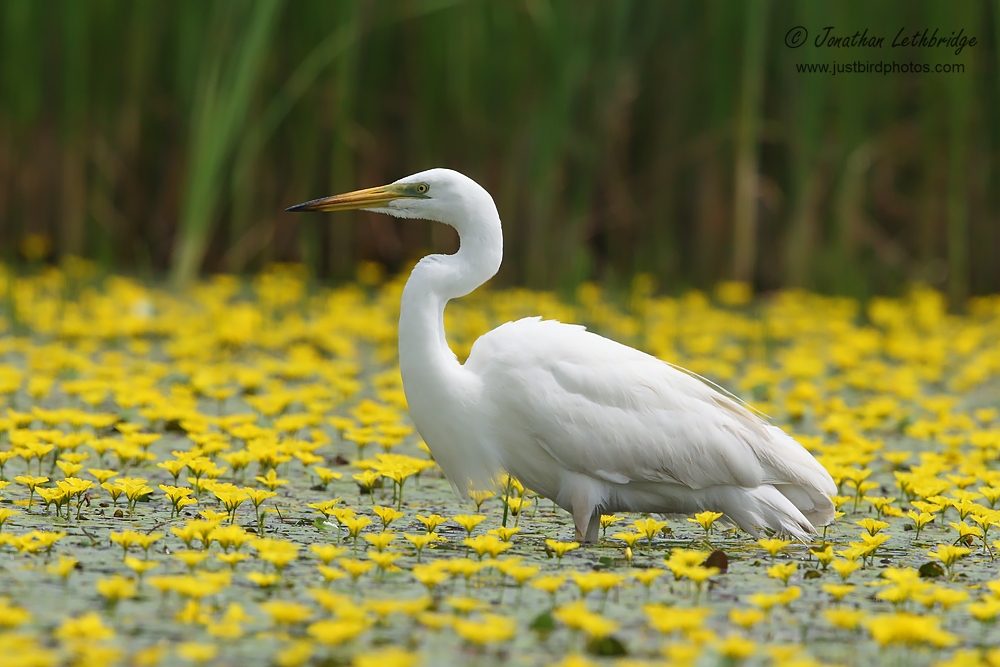
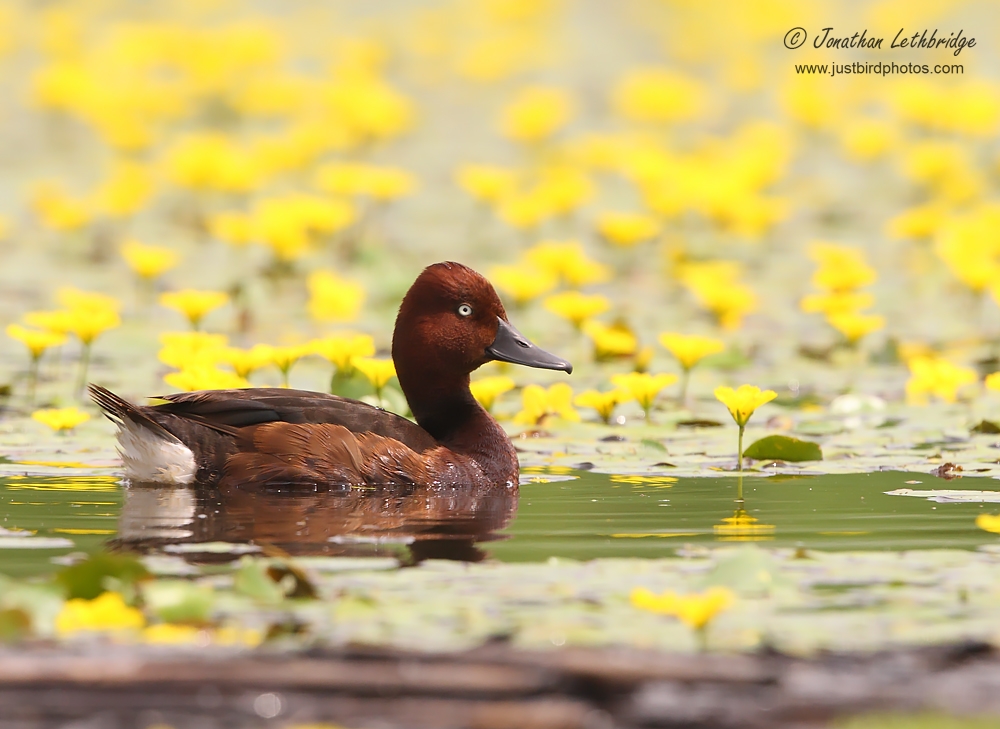
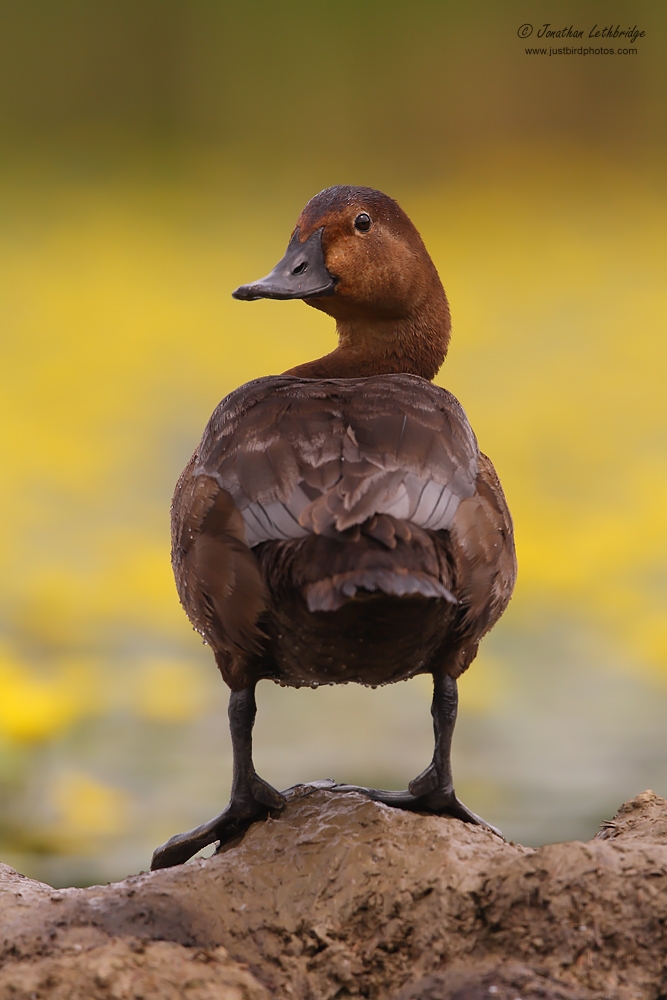
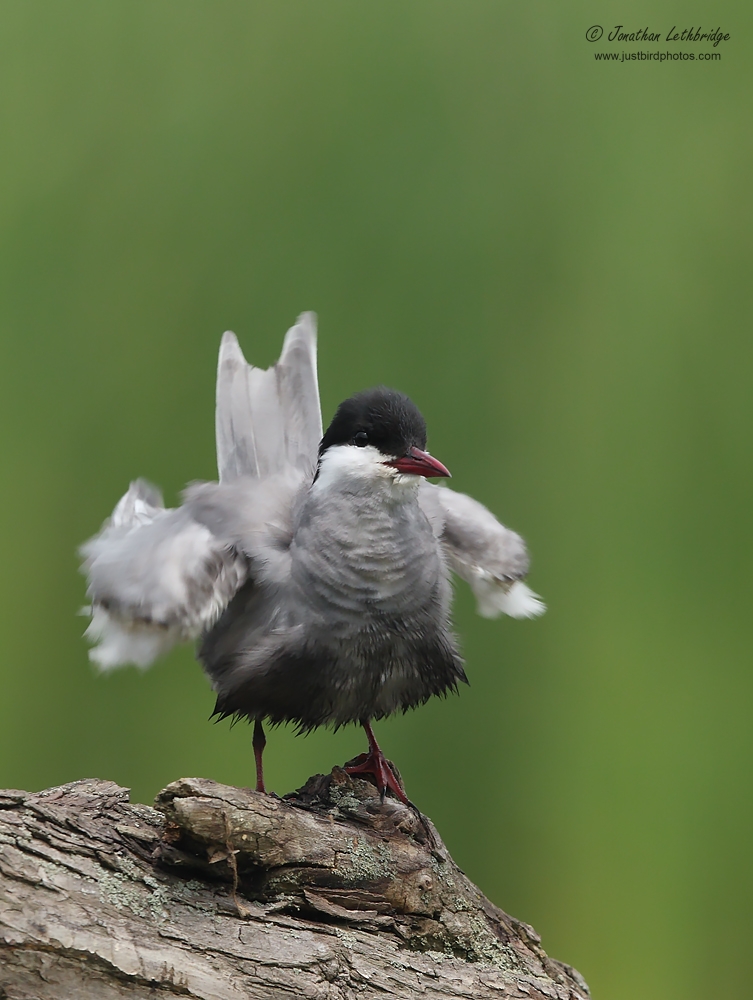
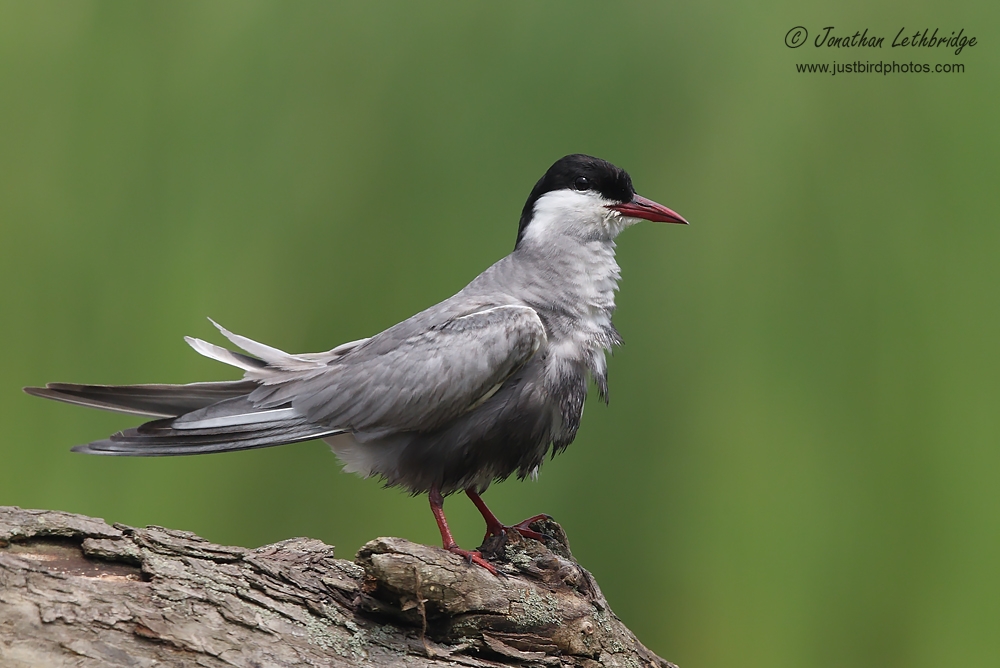
Waking up to rain, my fellow photographers and I elected to try the Pygmy Cormorant hide, the theory being that water runs right off ducks. This is situated in the vast wetland area of the Hortobagy, and is a hide set at water level - you can lie down on a mattress in behind your camera. With perches right in front of the glass, we had high hopes for an excellent day despite the weather. We drove through a deluge to the hide, black skies and forked lightning. Pushing our way through water-logged reeds we got soaked getting to the hide (tip, if it's raining, go last!). Once safely inside, we raised the shutter to reveal......nothing!! Oh well, patience is often the name of the game, so we set up and waited. And waited.... I'm not sure what to say. For most of the day we had mostly Greylag Geese, Mallards and Pochard outside the hide. I refused to photograph the first two. Sometimes small parties of Ferruginous Duck attempted to visit but either stayed some way out, or were chased away by a family of Coots. A Great White Egret visited twice, a Squacco once, and a Purple Heron was unphotographable. Whilst there was opportunity for Whiskered Tern flight shots, I gave it several hundred attempts and came away with one single image that was vaguely OK, but still essentially laughable. I have no idea what I am doing wrong, I may try a special course in the US as it is most frustrating. Anyway, moving on, a frustrating day which saw the perches go almost unused - a single Whiskered Tern spent perhaps a minute on one of the larger logs. Apart from that the only options were for birds in amongst the yellow water plant flowers - I'm not sure yellow is a particularly forgiving background for bird photography. One or two perhaps, but every shot? A Pygmy Cormorant visited once, swimming and diving in the centre of the pool before disappearing leaving us with no shots. Oh, and we got eaten alive by mossies as the day went on! The light was largely sub-optimal, and when it was nice, no birds deigned to drop in! So, tiring, hot, and deeply unsatisfying, and I ended up keeping only a tiny number of photos, fewer than 30, which for a whole day of bird photography in a set-up designed for you to score heavily is very poor indeed. With few usable images we bemoaned our luck on the way back to Balmazjuvaros and our hotel, hoping for better weather the following day, and a hide with birds in front of it! Things could only get better!
Gear Lenses: A 300mm lens would be an asset for photographing Marsh Harrier and Whiskered Tern in flight, but otherwise a 500mm/600mm + extenders would be suitable - the longest you have, basically. Cameras: Again, high ISO is a necessity, but unlike the Drinking Pool Hide, a 1.6x crop body would work fine. A few birds came close, but our experience was that most were far out. I used a 1.3x crop body almost exclusively.
Other: A tripod without a centre column, one that can go flush to the ground. Alternatively a beanbag or a skimmer pod would work. All wildlife photographers ought to have a tripod that goes to ground level though, in my opinion at least. Mosquito repellent!
Hungary Day 1: The Drinking Pool Hide
June 28, 2013
•
2 Comments
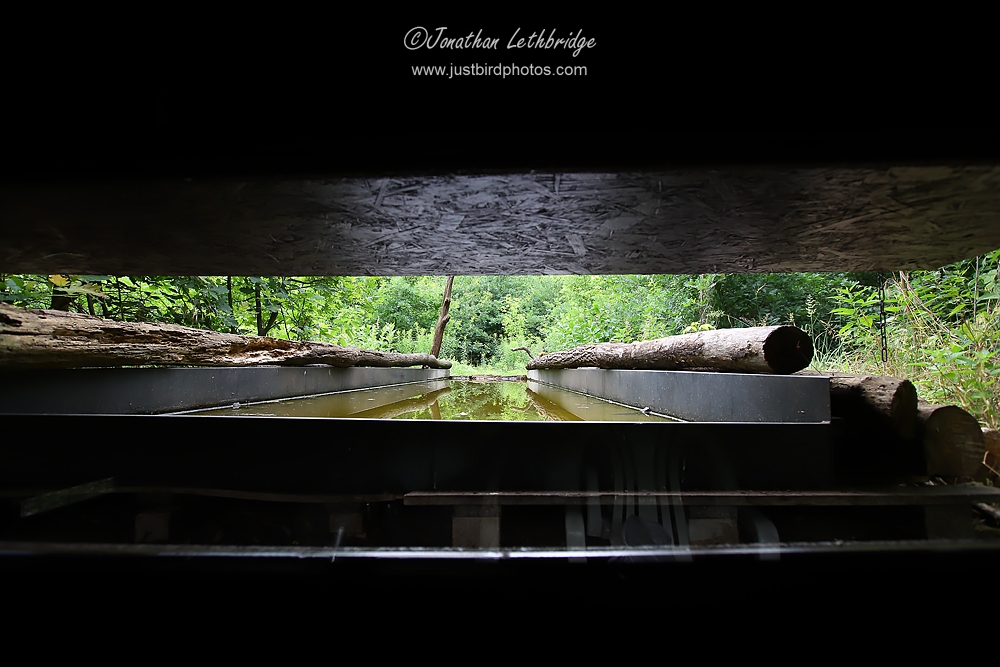
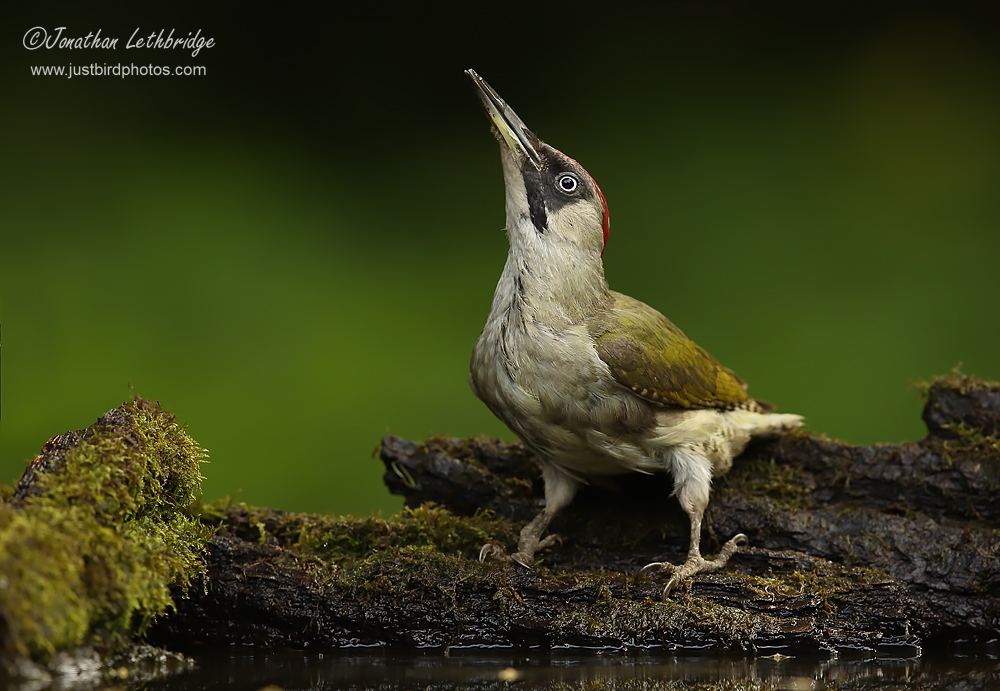
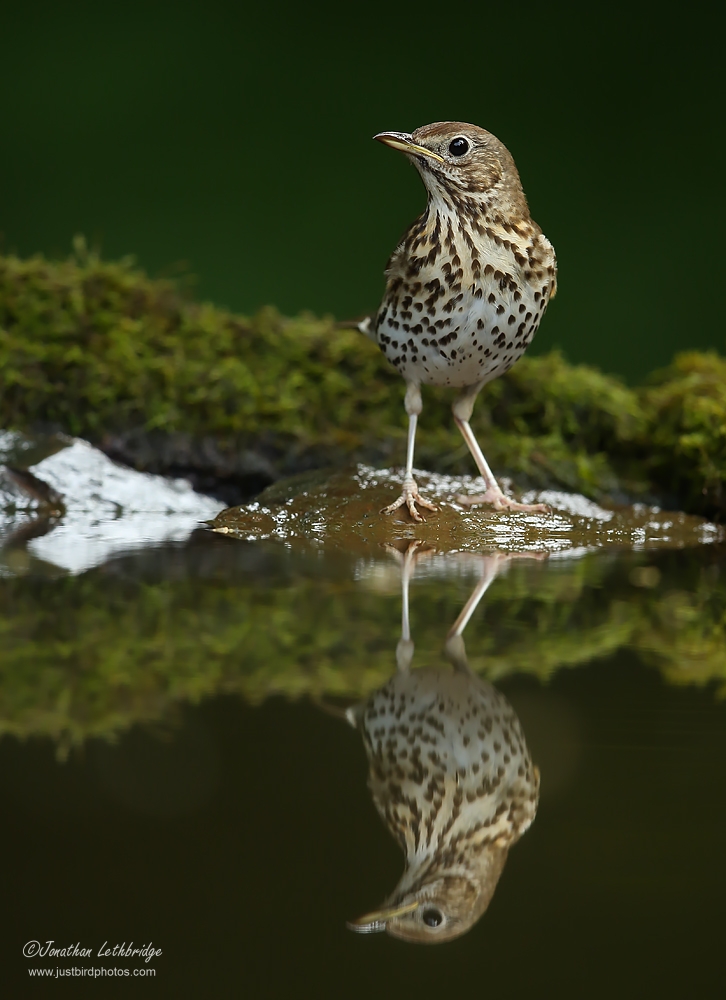
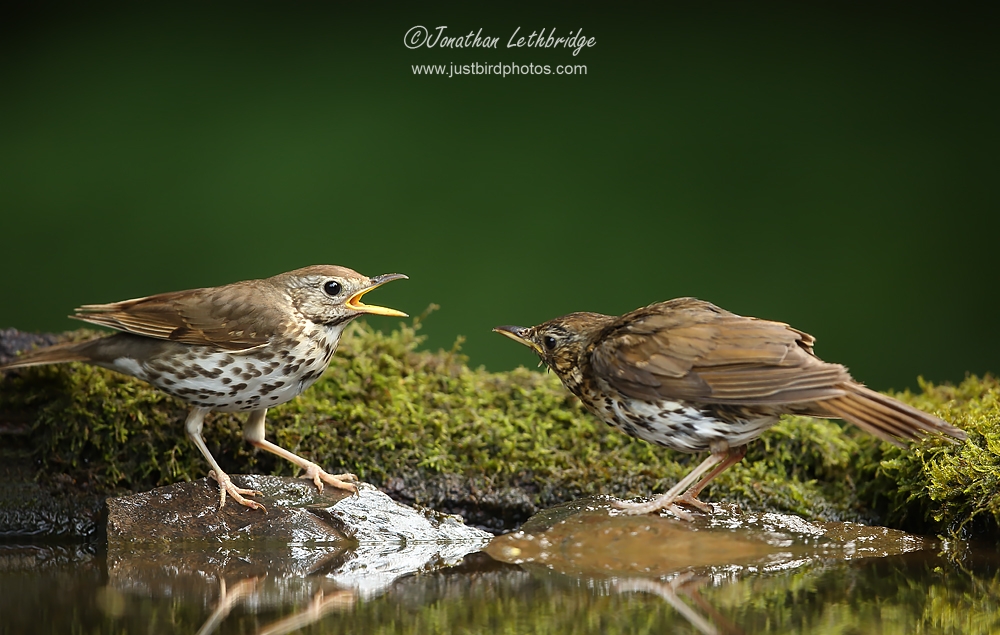
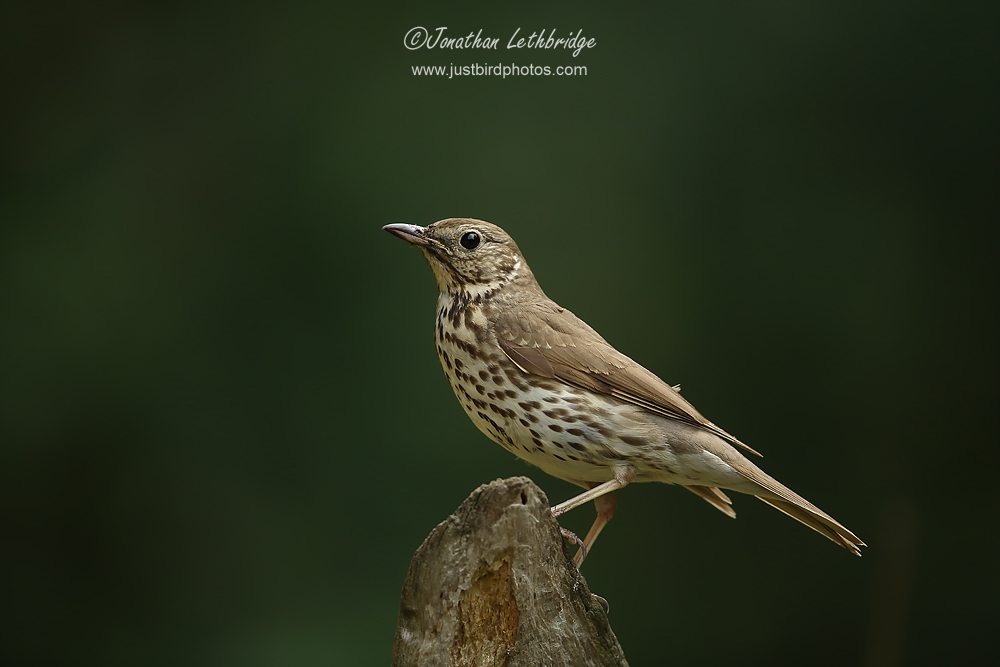
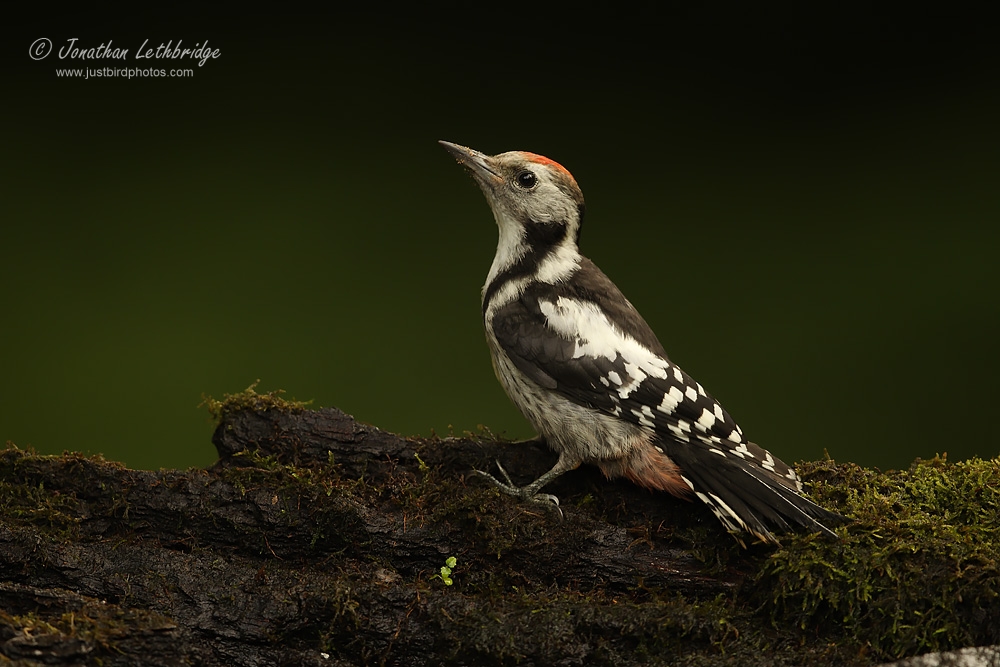
I arrived fairly late in the day on Friday after electing to do a morning's work first to help pay for the trip. This left just enough time to have a quick beer with the other photo-tour guests, and make plans for the day ahead. With a period of hot weather about to end and with rain forecast I elected to go to one of the drinking pool hides; when the forest is dry the drinking pools are a valuable source of water for bathing and drinking, and will be visited frequently. And so it proved with non-stop activity in the morning and the afternoon, with the only quiet period being in the middle of the day, as you would expect. The two drinking hides are situated close together in Debrecen Great Wood. They seat three people reasonably comfortably, and are set below the water line, so that you can set up parallel to the surface for absolutely level-with-the-bird shots for that unique perspective, and allowing for awesome reflections. You shoot through one-way glass, and I estimate that this cuts up to 2 stops of light. Drinking hide #1, the one I was in, is set underneath the canopy, and as such it can get very dark - shutter speeds of 1/60s are not uncommon, and as such bathing action or bird interaction is essentially out of the question which is a great shame. You face a shallow pool, constructed as a metal trough, that is perhaps 5m long. The majority of the action happens at the far end where you can set up various perches - mossy bark, stones, sticks, whatever takes your fancy. A pre-bathing perch is often a good idea - birds like to take a moment to check out the situation before getting down to business. The sides of the pool are lined with logs that prevent birds from drinking, thus everything is concentrated at the far end unless you set up a perch closer to the hide. There is a large gap between the end of the pool and the foliage at the rear, allowing amazingly clean backgrounds.
Note that drinking hide #2 is identical to the first in terms of physical layout, but is in a more open situation that allows faster shutter speeds - perhaps up to a stop and a half. When I was there though, it attracted far fewer birds than hide #1. You are more likely to get a light green background in #2, whereas #1 will have darker backgrounds, including black. When we arrived the guide opened the hide up, cleaned the glass, topped up the pool with water and left us to it. It didn't take long for birds to return, and for the photography to start. A average day should see 18-22 species visit, an exceptional day would be 30 species. These are classic woodland birds - Tits, Woodpeckers, Thrushes, Finches and so on. It can get quite intense at times and you don't know what to point the camera at! One recommendation is to get the birds before they start bathing, as they become very quickly become drenched and rather unattractive!
I had a great day, getting shots of some species like Turtle Dove that I had only dreamed of. My only criticism beyond the light issues is that many images end up looking very samey, even if of different species. I wouldn't put together a portfolio of images from this hide alone, it would be very one-dimensional. You can help yourself out by nipping outside every now and again to play around with the placement of perches, but there is still really only one thing going on. This does not in any way detract from the fun though, and it's pretty easy to get standout shots that you would difficult to reproduce elsewhere. Beware of getting your horizons level - with reflections it's really obvious when you're not true to the world. We elected to have a full day in the hide, though a half day is an option. We arrived at 6.30am and were picked up at 6pm - that's a long day to be sat in one place, but the images you get make it worthwhile in my opinion. In a 12 hour session I got the best images I've ever taken of probably a dozen species, can't ask for more than that really, and I'll be doing a series of "species" posts in the coming days, to include Hawfinch and Turtle Dove.
Gear Lenses: Lenses from 300mm to 700mm are what you need, including any crop factor. A 500mm f4 was my most-used lens, though a 300 f2.8 also saw some action. With the end of the pool about 5.5m away from you, 500mm is excellent for portraits of small birds when using a 1.3x crop body. A 1.6x crop body would likely be too much to allow pleasing compositions. If you want full reflections, this focal length of 700mm is too much, and I swapped to a full-frame body. For larger birds, like Jays and Thrushes, 500mm native focal length was good, though 400mm would have been better. Anything closer would require a 300mm lens, an f2.8 version would be good as it lets heaps of light in, though bear in mind that the subjects are often at or just beyond minimum focusing distance, so stopping down is often required, despite the lack of light. I found myself using f8 and f9 quite frequently to get sufficient depth of field, with the resulting extremely slow shutter speeds - down to 1/40s in some instances. Solid long lens technique is very important, as is a tripod.
Cameras: Unless you only use a 300mm lens, a 1.6x crop is too long. This hide is perfect for a full-frame body with longer lenses, and I used my 5D Mk III more frequently than anything else. A 1.3x crop body gets you tight in for smaller subjects, but won't allow you to get the full reflections in. All bodies need to have excellent high ISO capabilities. I never went below ISO 800, and often used 1250 - it really is dark in there. In addition, many of the best reflective compositions require portrait framing, so a camera with a vertical grip will make things a lot easier and much more comfortable. My 1D Mk IV has a vertical grip built in, but I really missed not having this option with the 5D Mk III.
Other: A tripod is essential in my opinion, with a head than pans easily and smoothly. You may need to lock it down for some shots to minimise the risk of camera shake. Mosquito repellent and after-bite lotion. Toilet paper in case the need arises. Plenty of water is provided. In high summer it can surpass 30 degrees in there. Don't be tempted, as we did, to open the front window a fraction. When the sun is out, unless the lens is perfectly parallel to the glass, ghosting will occur on high contrast areas of the subject, such as a Blackbird's beak. This wasn't apparent in shade, but in brighter light we couldn't understand what was going on until we shut the window. Lesson learned! |